Creating Online Wedding Invitation App(React.js/Node.js/nodemailer)


Origin of this idea
In the pandemic, only few people get invited due to the new rules by the government. One day my mother was discussing with me, it would be better if we can attend our relatives wedding while sitting at home. Then I thought how I cool it will be to create blueprint of this idea using MERN stack.
How I started building this app
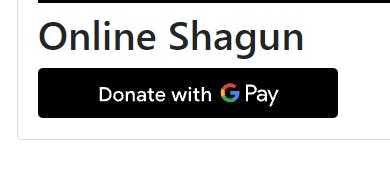
Then I took pen and paper and started thinking what things or technologies I need to implement this. The first question was how to send the invitation? I searched for this and I got the solution on google. There is a library called Nodemailer. So, installed this library. Now, everything was clear for me. Then I also thought it would be better if I can provide a online payment method to the guests for Shagun who are attending the wedding online. For this I used Google Pay React Button library. In the following paragraphs, I will take you to the process of building this app.
It's to open the VS code editor and code
First I started with the backend implementation. For creating server for our app, create a folder named invitation and inside the folder just write npm init and This will create server app. Inside index.js file write all the logic for routing and api calling. Now to use the nodemailer, just write the below code:
var nodemailer = require('nodemailer')
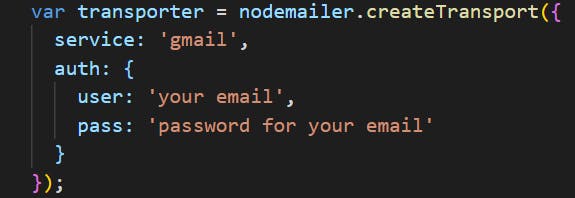
Now, this will create your gmail account to send the invitation.
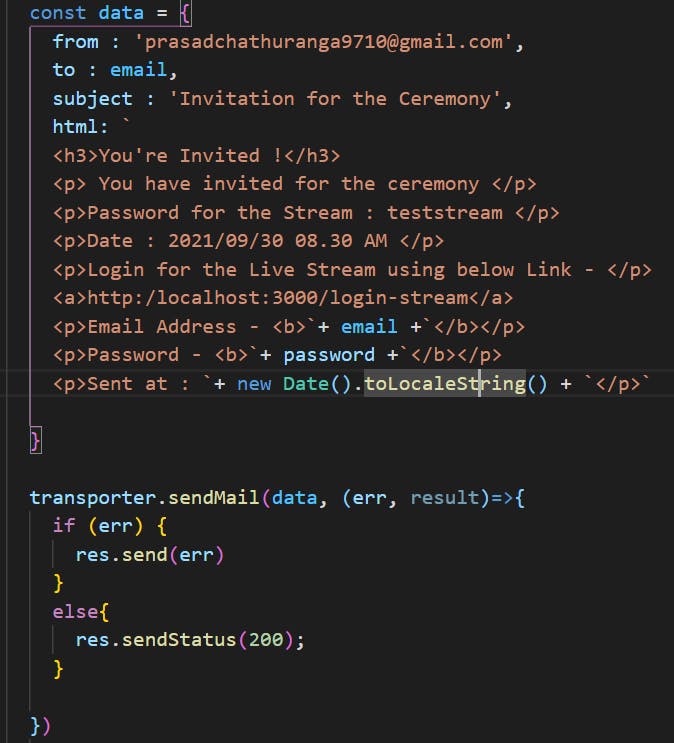
Now the remaining code for calling api for sending mail can be written by you with your own logic. Here is the body of the data for sending the mail.
Now after setting the backend with server and database, we will move on to frontend side.
Frontend side of our App
In the same folder, just write npx create-react-app .. This will create folder of same name as outer folder.
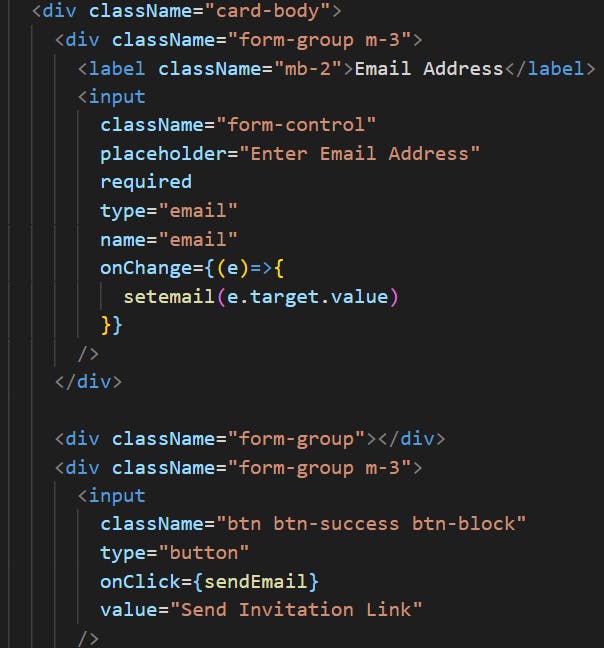
Now create a mail form where we type the mail id of the receiver and send the mail which contains invitation link and password for authorization.
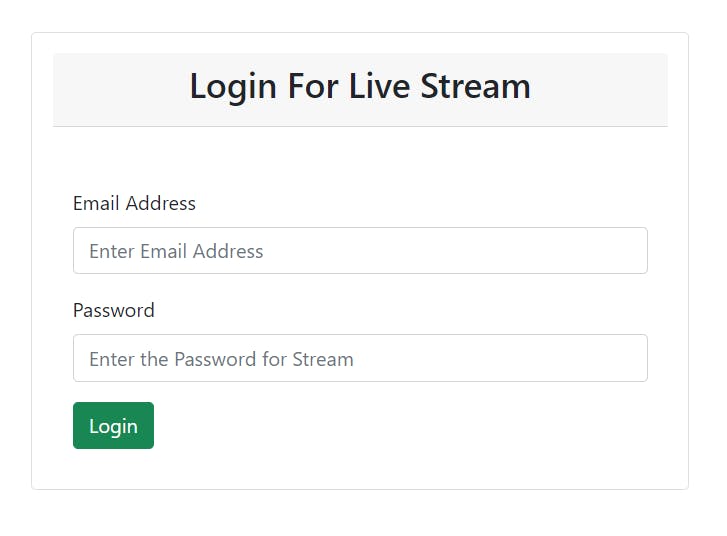
After this, create another component, in this component create a login form where user/guest will write his/her mail id and password and can login into our app.
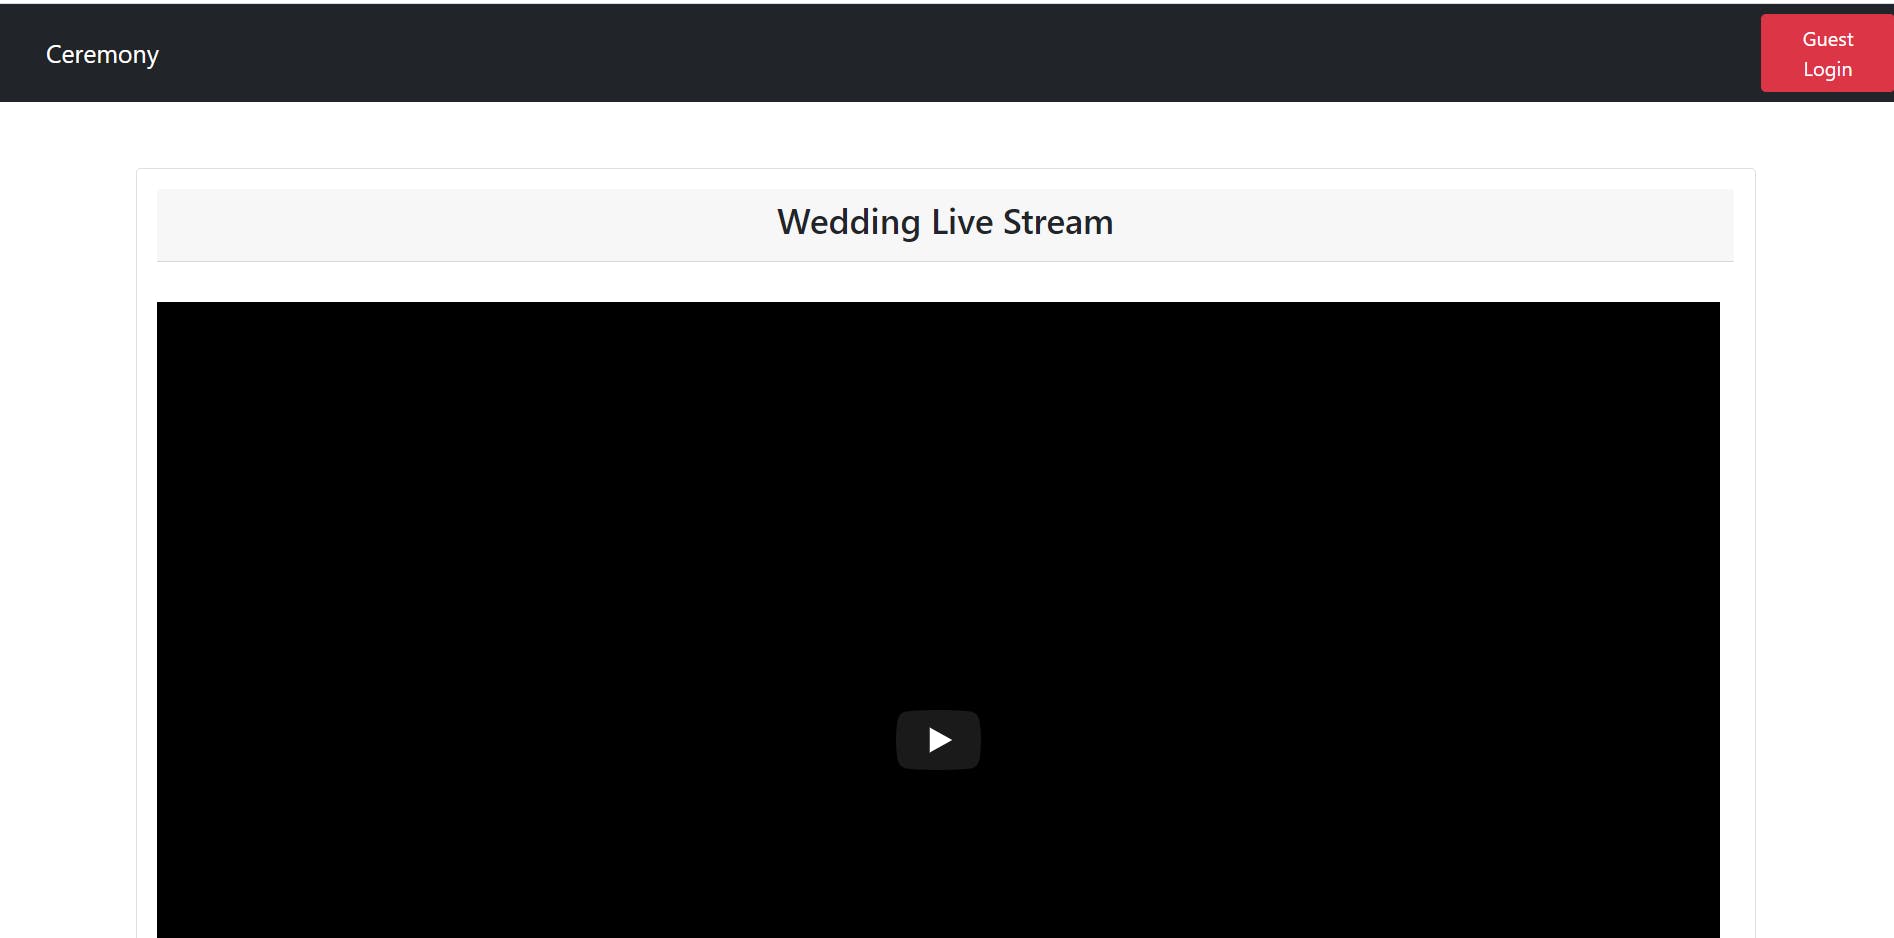
Now create another component app which will be our main component where guest can see the online streaming of the app and can also do the online payment for Shagun. For online payment gateway just write following code:
import GooglePayButton from '@google-pay/button-react'
<GooglePayButton
                    environment="TEST"
                    buttonColor="black"
                    buttonType='donate'
                    paymentRequest={{
                      apiVersion: 2,
                      apiVersionMinor: 0,
                      allowedPaymentMethods: [
                        {
                          type: 'CARD',
                          parameters: {
                            allowedAuthMethods: ['PAN_ONLY', 'CRYPTOGRAM_3DS'],
                            allowedCardNetworks: ['MASTERCARD', 'VISA'],
                          },
                          tokenizationSpecification: {
                            type: 'PAYMENT_GATEWAY',
                            parameters: {
                              gateway: 'example',
                              gatewayMerchantId: 'exampleGatewayMerchantId',
                            },
                          },
                        },
                      ],
                      merchantInfo: {
                        merchantId: '12345678901234567890',
                        merchantName: 'Demo Merchant',
                      },
                      transactionInfo: {
                        totalPriceStatus: 'FINAL',
                        totalPriceLabel: 'Total',
                        totalPrice: '100.00',
                        currencyCode: 'USD',
                        countryCode: 'US',
                      },
                    }}
                    onLoadPaymentData={paymentRequest => {
                      console.log('load payment data', paymentRequest);
                    }}

                  />
                  <br></br>
                  {/* <button className="btn btn-danger mt-3" onClick={exit}>Exit from Stream</button> */}
                </div>
Finally our app will look this based on how you styled it:
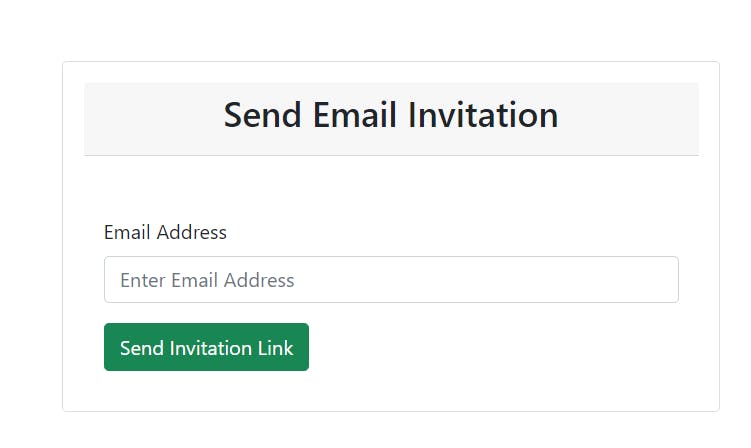
This is the mail sending page.
Now once guest receives the mail for invitation, they can follow the link and can login:
Below is the main page of our app.
And below is the payment method section:
You can find the code for this app on my github profile. Below is the link of my profile. https://github.com/rupesh2120/Wedding-invitation-app
Thank you for reading this articles.